Recently I needed a way to pass the product values of items purchased through an Ontraport form to a Facebook Pixel so we could track how much people were spending in Facebook. Ontrapages does allow you to put some HTML at the header or footer of your pages, but, it’s super limited as to what it allows you to put here. I reached out to support to see if there was an easy way to do this and the solution that was recommended to me was to use a different thank you page for each product - which - would have been a total pain to manage and a lot of wasted time. I decided to see if we could pass some CGI parameters instead and just echo it out with a super simple script in the head.php of our WordPress theme. Turns out you could, and it worked, but it wasn’t super linear in the setup.
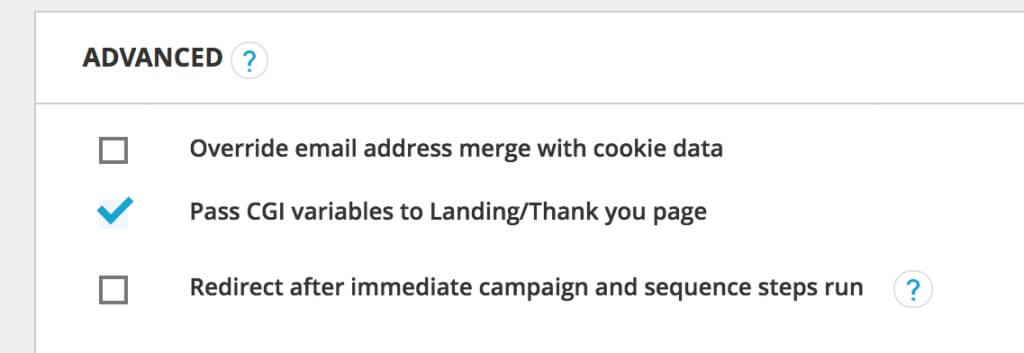
Ontraport DOES allow you to pass CGI variables to the next page on their form submissions - but - they for whatever reason don’t let you choose what information gets passed over. The only option they have in form settings is to just check a box to “Pass CGI variables to Landing/Thank you page”:
When you check this off, the information it passes to the next URL is as follows…
- CID
- First Name
- Last Name
- Billing Address
- Billing City
- Billing State
- Billing Zip
- PayPal Toggle
- Transaction ID
- IP Address
All of which is probably useful for a lot of things - but - not exactly useful for working with Facebook Pixels since the only product specific information it passes is the Transaction ID. We specifically need to get the total amount of money spent to make this work.
At first glance this makes you feel pretty 🗿 and want to just give up - but - if you scroll down the advance settings a little more you’ll find the option to, “Send Google Ecommerce Tracking Parameters to Landing/Thank you page”:

If you check this off it passes a bunch of Google Ecommerce Tracking-specific data to the thank you page, which, we CAN use for this purpose! One of the items it passes is “Revenue” which is the total amount of money spent on the form after fee’s (shipping, etc. etc.). Perfecto!
Now that you have this info it’s pretty simple to get it working. Assuming your Facebook Pixel is already placed in your header file (or however else you have your biz configured) you simply need to add the following event to your Facebook Pixel code as per the standard Facebook Pixel instructions for adding such things:
<?php
if ( is_page( 'your-thank-you-page-permalink-or-id' ) ) {
  if ( isset( $_REQUEST['Revenue'] ) ) {
    ?>
      fbq('track', 'Purchase', {value: '<?php echo $_REQUEST['Revenue'];?>', currency: 'USD'});
    <?php
  }
}
?>
Replacing “your-thank-you-page-permalink-or-id” with your own personal relevant information or replacing that whole thing with whatever conditional you want.
Then go back to your form settings on Ontraport and set the Landing Page / Form’s thank you page to the new page you created on your WordPress site as a “Custom URL”.
Go ahead and process a test checkout and you’ll see whatever the form total was (after fee’s) will be added to your Facebook Pixel. So if they bought a product for $32.32 it would include this line in your Facebook Pixel:
fbq('track', 'Purchase', {value: '32.32', currency: 'USD'});Since we wrapped it in two conditionals this Event will only show if the person is visiting the specific thank you page and if the Revenue variable is set in the URL. The first prevents this event from showing on any page but the one you defined and the second prevents you from getting a bunch of blank values added to your Facebook Pixel logs if people for whatever reason visit the thank you page directly.
That’s it, you can now use this generic thank you page for any product you want and it should pass the value of product totals on a case by case basis to Facebook (assuming your referring page has the “Send Google Ecommerce Tracking Parameters to Landing/Thank you page” option enabled). So if you have 50 products you don’t need 50 thank you pages, you just need 1. 😉