Using Proof (UseProof.com) with Ontraport via Webhooks.
🗓If you're looking to use Proof (useproof.com) with Ontraport you'll quickly find that the "automatic pixel" doesn't seem to work too well with Ontraport regardless of the type of form you use on their end (Ontraform, Smart Form, etc. etc.). Unfortunately the only way to successfully pass the data over to proof is to make use of a custom webhook. Though not too difficult I couldn't find any good instructions online on how to format this in Ontraport - so - I decided to write some up! 😉
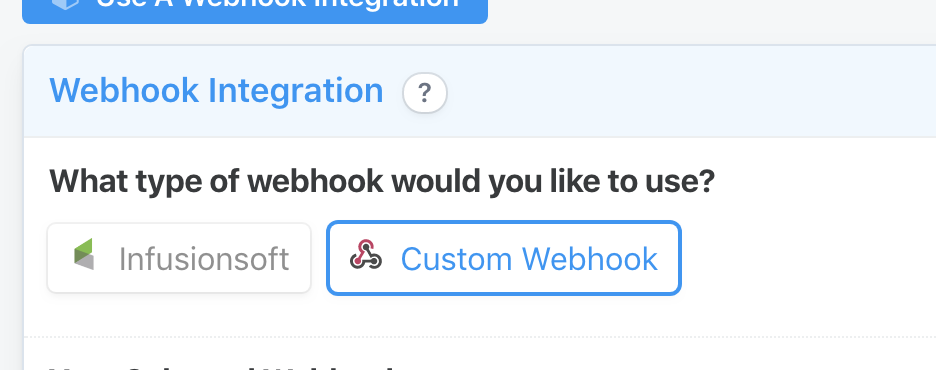
The first thing you'll want to do is fire up proof and start the process of creating (or editing) a campaign. When you get to "Step 2: Capture" look towards the bottom where it says, "Don't think Auto Lead Capture will work for your setup?" (spoiler, it won't!) and select the option to use a webhook:

Then select "Custom Webhook":

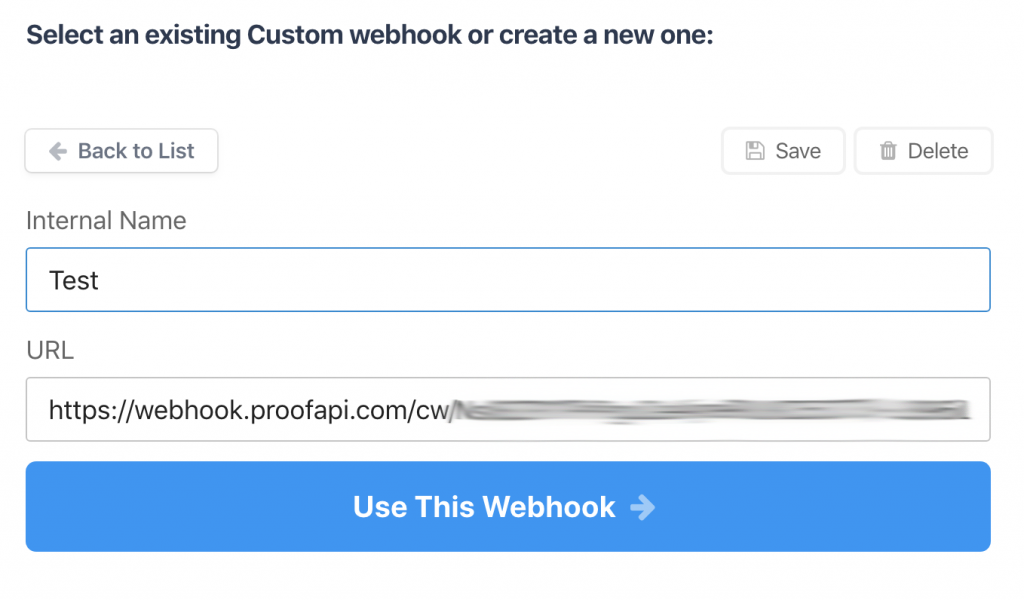
When prompted create a new webhook and make note of the "URL":

Select "Use This Webhook" and proceed to setup the rest of the campaign in proof as you would when using the automatic pixel (or anything else!).
Once you're done setting up the campaign in proof fire up Ontraport and locate the form you wish to push data into proof and select the Form Settings:

Under Form Settings locate Always On Rules (or Rules: Successful Payment if it's an order form) and create a new rule. Let's call it, "Send to Proof":

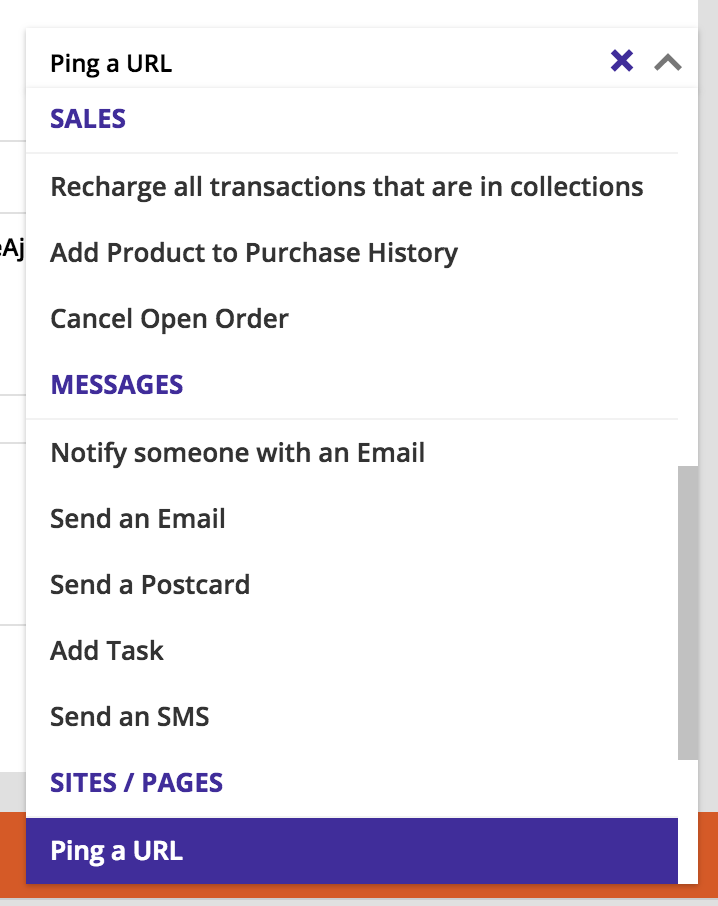
Locate the "Add Action" button (no conditionals are needed) and select "Ping a URL":

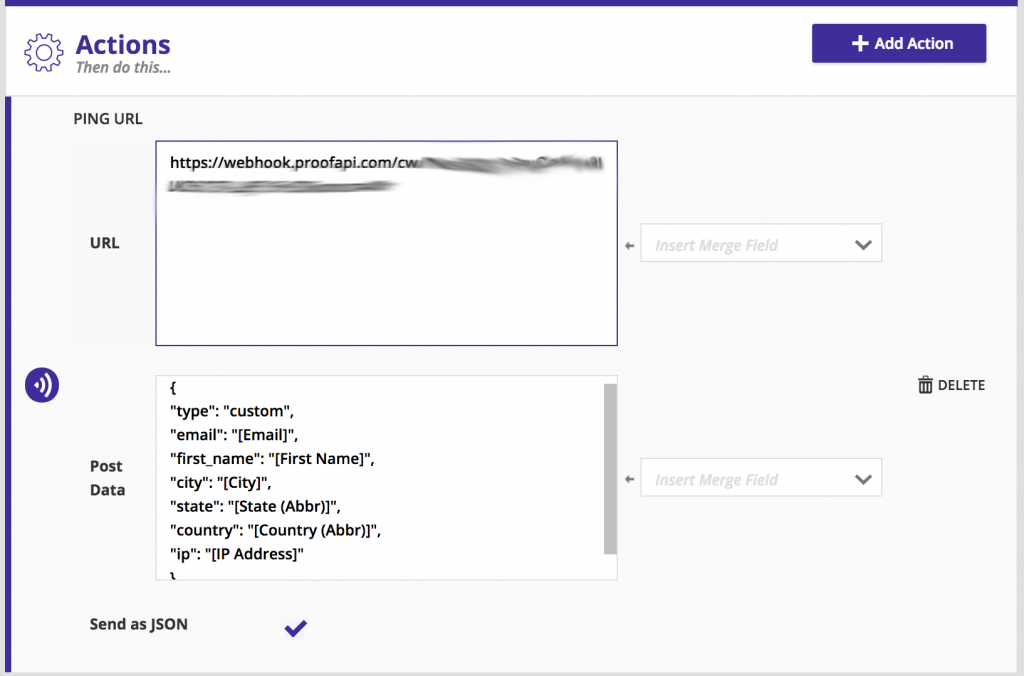
You'll be presented with 3 options...
- URL
- Post Data
- Send as JSON
For the URL use the URL we noted before from proof:

For Post Data add the following JSON markup:
You'll likely need to modify this to meet your needs. Offically the only things you need are "email" and "type" but you should try and add as much as possible. Of course, if your form doesn't have state -- you should remove state. You'll want to play with this a bit. Take a peek at the Proof Webhook Documentation for more info.
For example -- If you don't need "city" just remove that line ("city": "[City]",).
Lastly, be sure to check "Send as JSON" as that's the format proof likes to accept, in full, your setup should look similar to the below:

Once that's done, save it and give your form a test! You should see that the data is now being submitted to proof a few seconds after the form is submitted.
That's it! Job's done! Enjoy! 🙌
NOTE: Some of the posts on my site are 10+ years old and it's quite possible the information is dated at this point. I don't actively go through my old posts and update them as this site is just a hobby for me. If something you've found here isn't working or you see a major issue with it please contact me and let me know.
———